Home
About Us
Menu
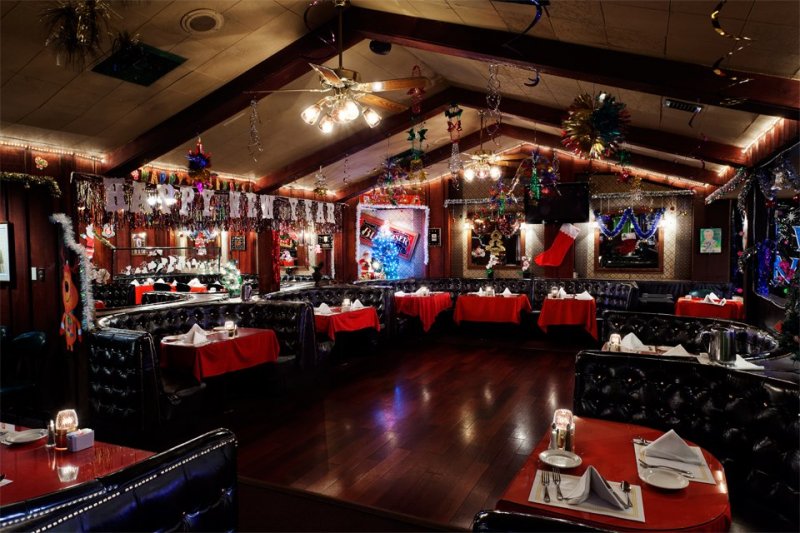
Inside The Barkley Restaurant & Bar
Location / Hours
Events
Inside The Barkley Restaurant & Bar
Image 4 of 6
Hours and Location
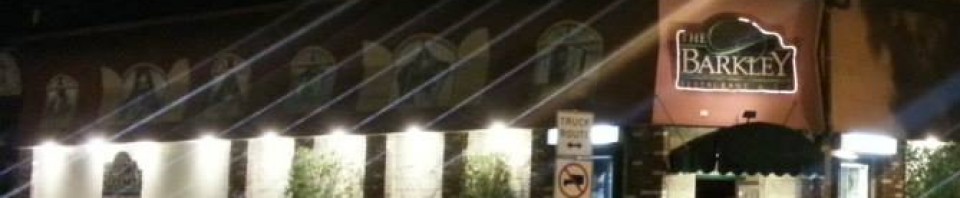
Address: 1400 Huntington Dr South Pasadena, CA 91030 Hours: Monday through Friday 11 am – 2 am! Also, Saturday and Sunday 11 am – 2 am! Phone: (626) 799-0758